
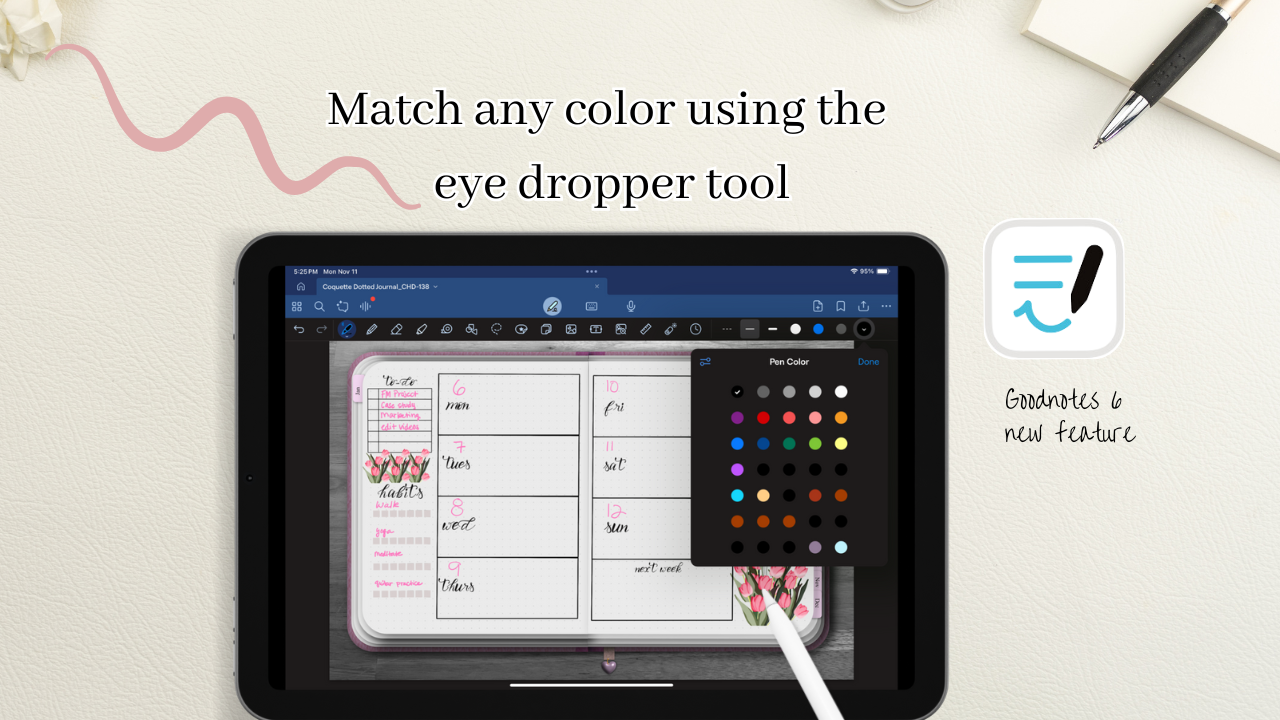
How to match pen colors to your planner in Goodnotes
With Goodnotes 6 you can now easily match your pen colors to your Planner by using the color dropper tool. This features works with the pen, pencil, the highlighter tool and the tape tool. For this tutorial we’re going to demonstrate the process with using the Pen, however you can duplicate the same process with the pencil, highlighter and tape tool.
Step 1:
1.1 Tap on the Pen icon. Colors will then populate on the top right side of the toolbar.
1.2 Scroll the colors until you reach an empty dashes circle with a plus sign.
1.3 Another window with more colors will open. You’ll then scroll down until a blue dashed circle with a plus sign is visible.
Note: If you don’t have a white dashed circle like in example 1.2 then all your color slots are filled. Double click on any of your color slots and scroll down until you see the blue dashed circle like in example 1.3.

Step 2:
Once you select the blue dashed circle, a new window will populate and in the top right corner of this window there will be an eye dropper icon, click on this icon.

Step 3:
3.1 Once you select the eye dropper a circle with a grid will populate, this is your eye dropper color picker.
3.2 You can then drag the color picker to your desired color.


Step 4:
Once you chose your color a preview of the color you selected will be added to your colors. In order to add to officially add it to your colors click add to presets.

Step 5:
Select your newly added color from the colors window and test it out.


Watch the video tutorial below:
You may like:


